Old Hatchets to restore and handle

  • Hey Guest, Early bird pricing on the Summer Moot (29th July - 10th August) available until April 6th, we'd love you to come. PLEASE CLICK HERE to early bird price and get more information.

addo

Bushcrafter (boy, I've got a lot to say!)
Feb 8, 2006
2,485
9
Derbyshire
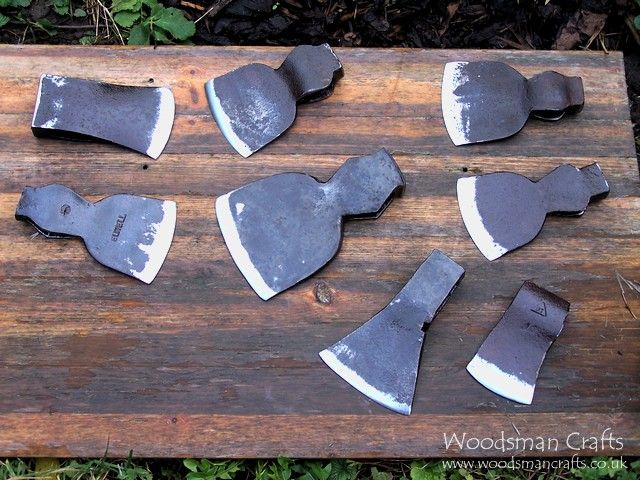
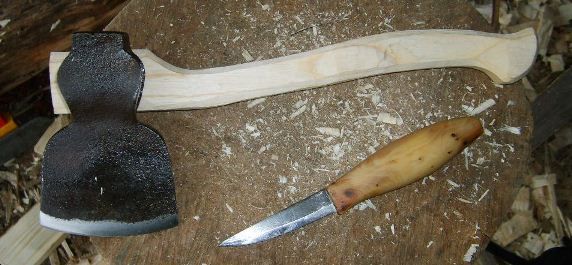
Through last year while working at various places and with the odd purchase or trade, I acquired quite a few axes to restore for teaching carving.

S5001028_zpsf85c8fbf.jpg


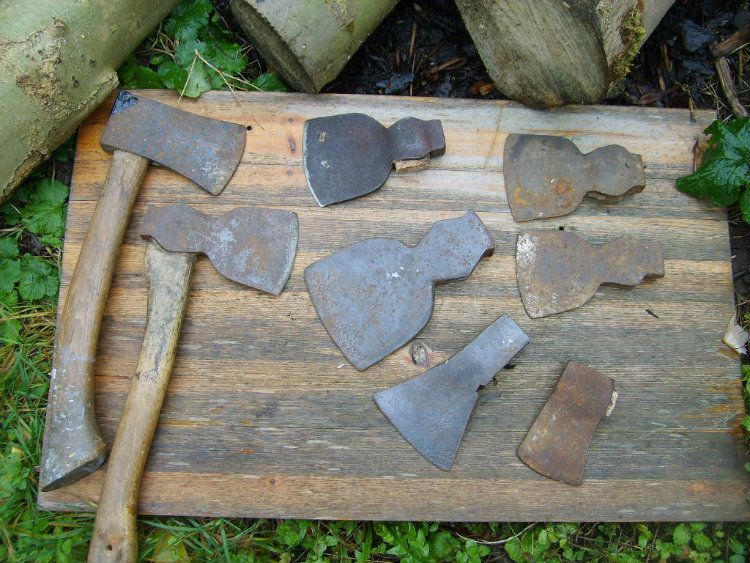
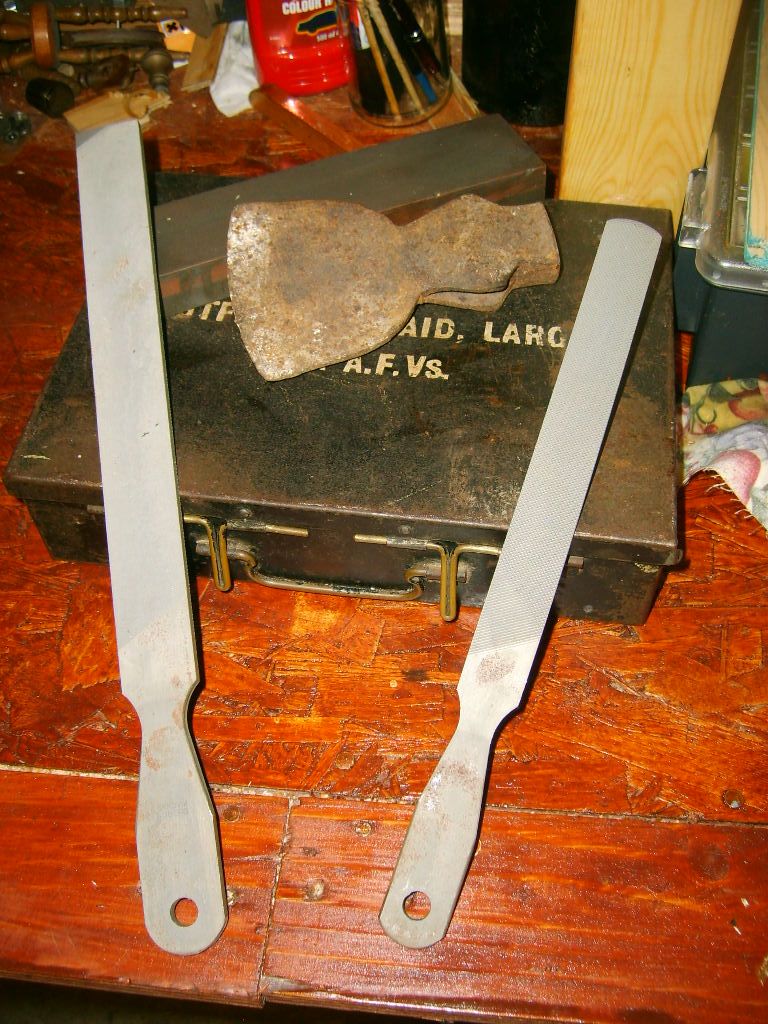
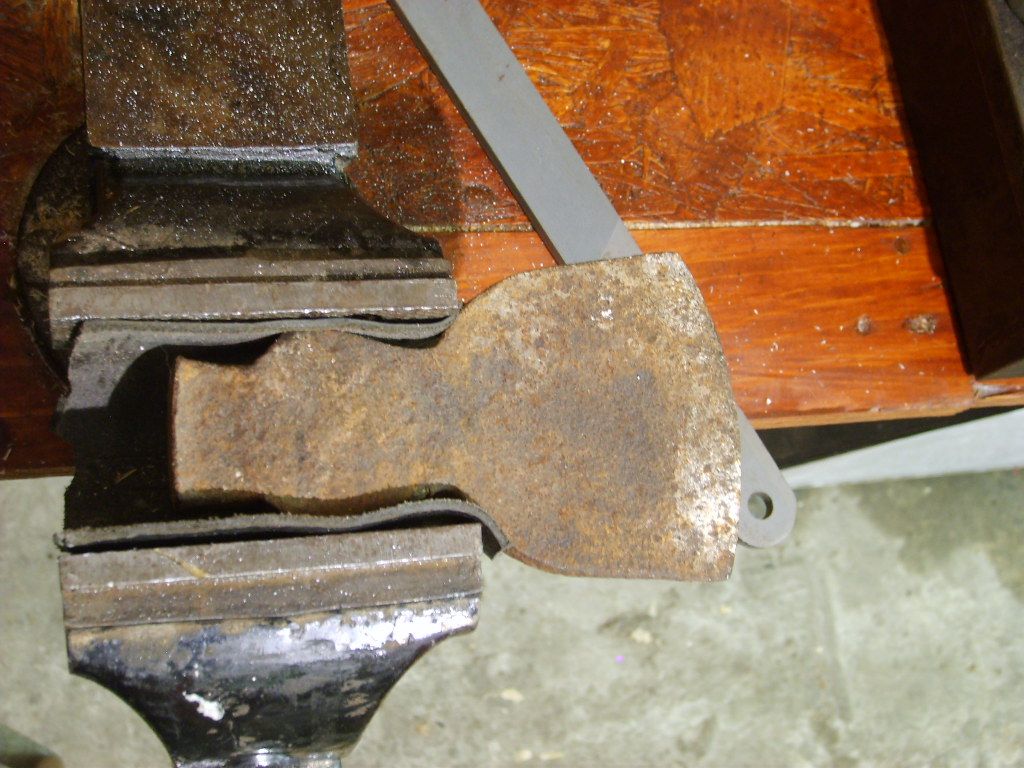
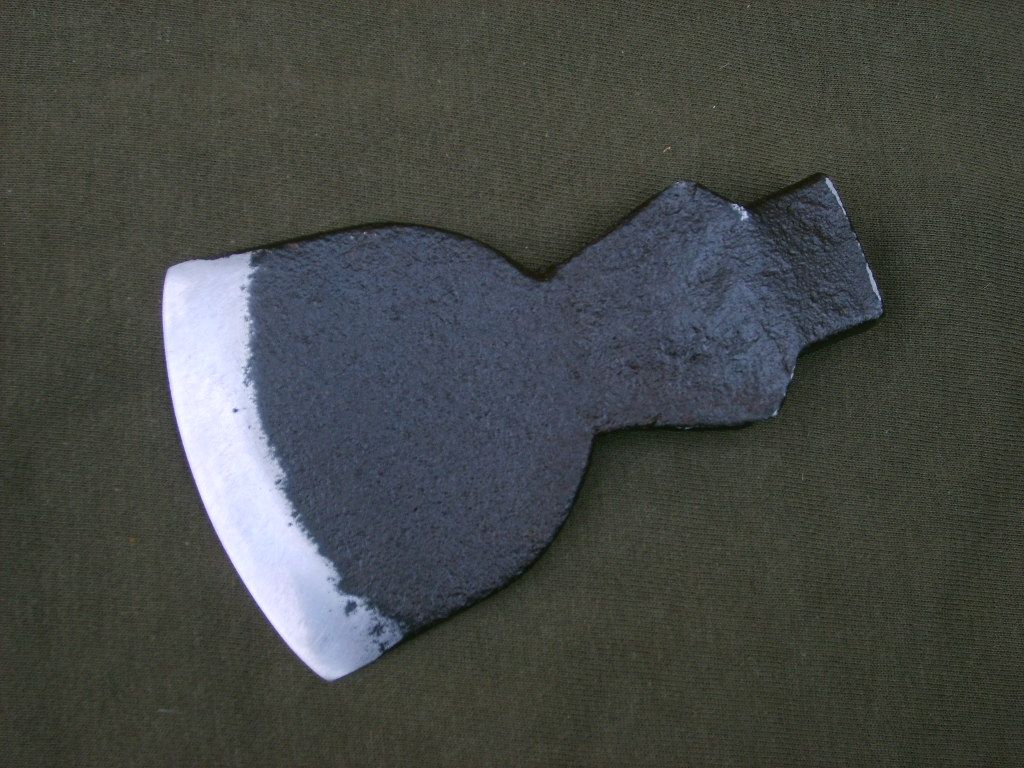
They are mainly Kent patterns of various or non stamped/eroded makes and around 1 1/4 - 1 1/2 LB. I decided to do eight of them this time and making do with another four for now that require less work.
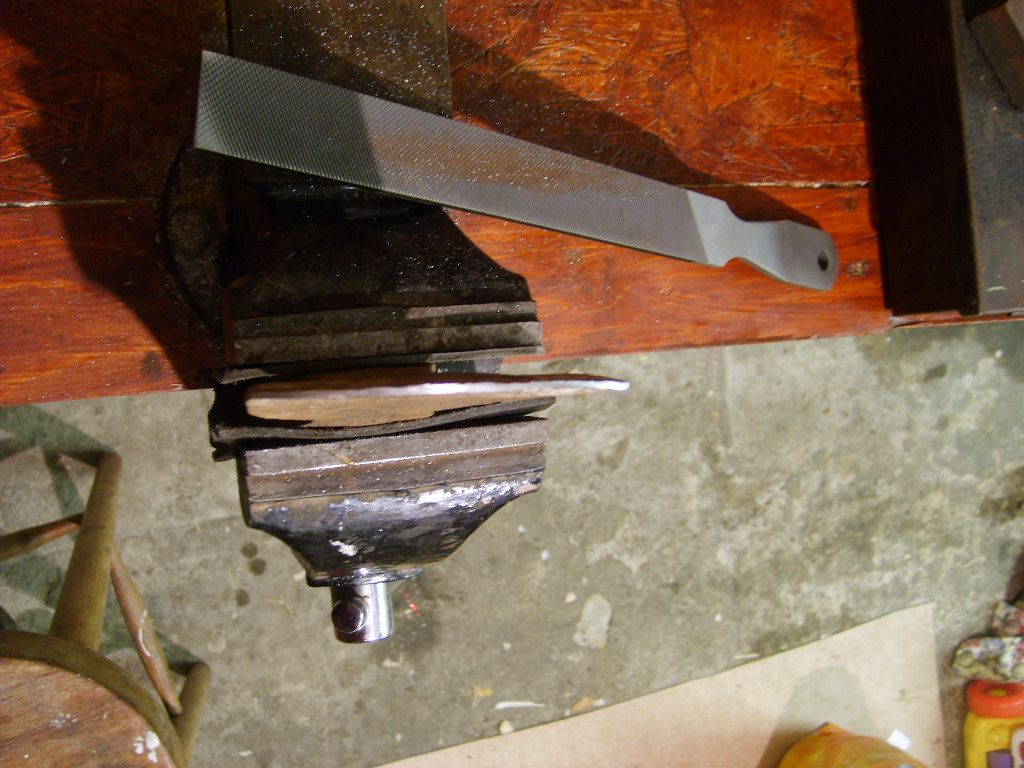
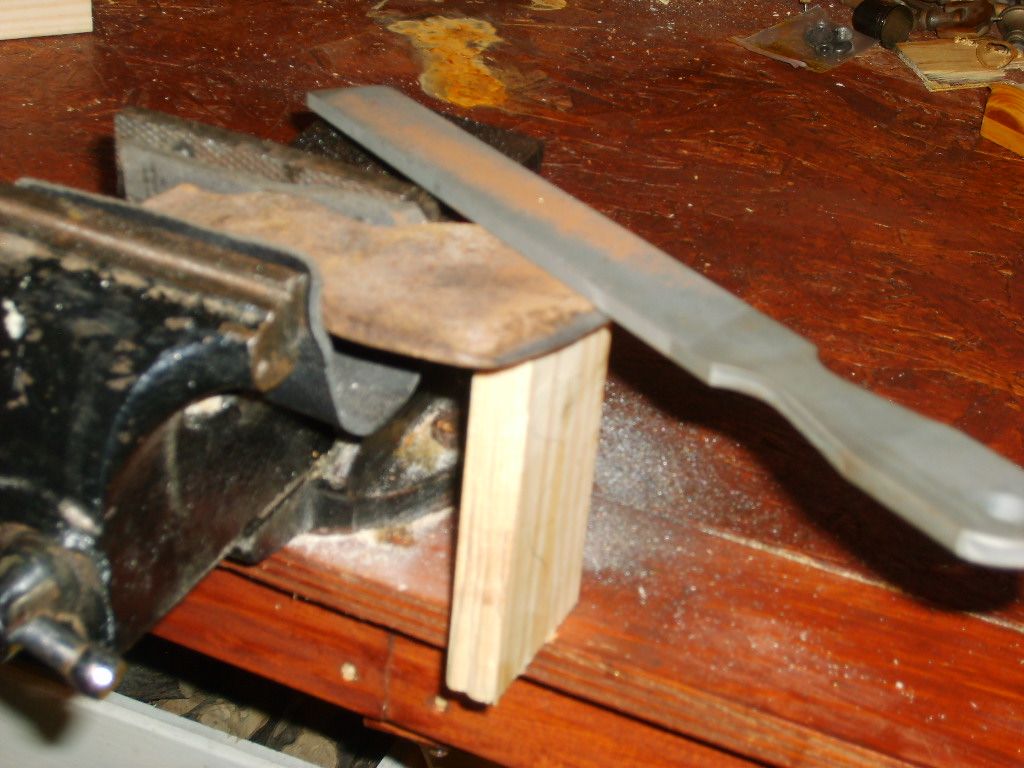
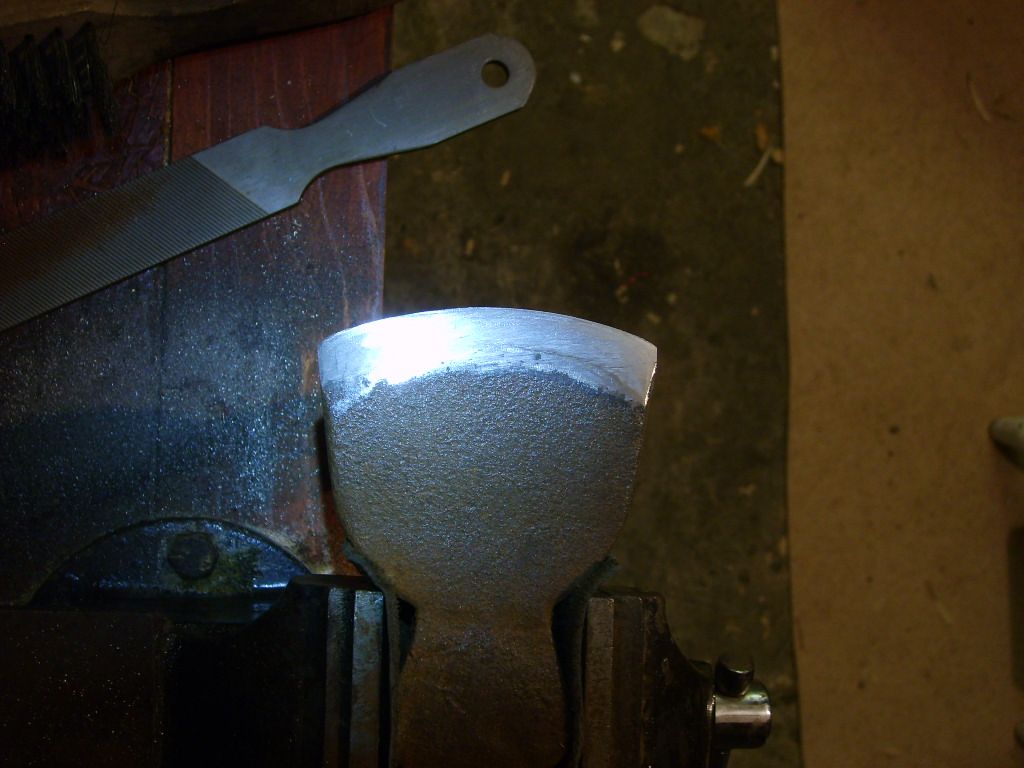
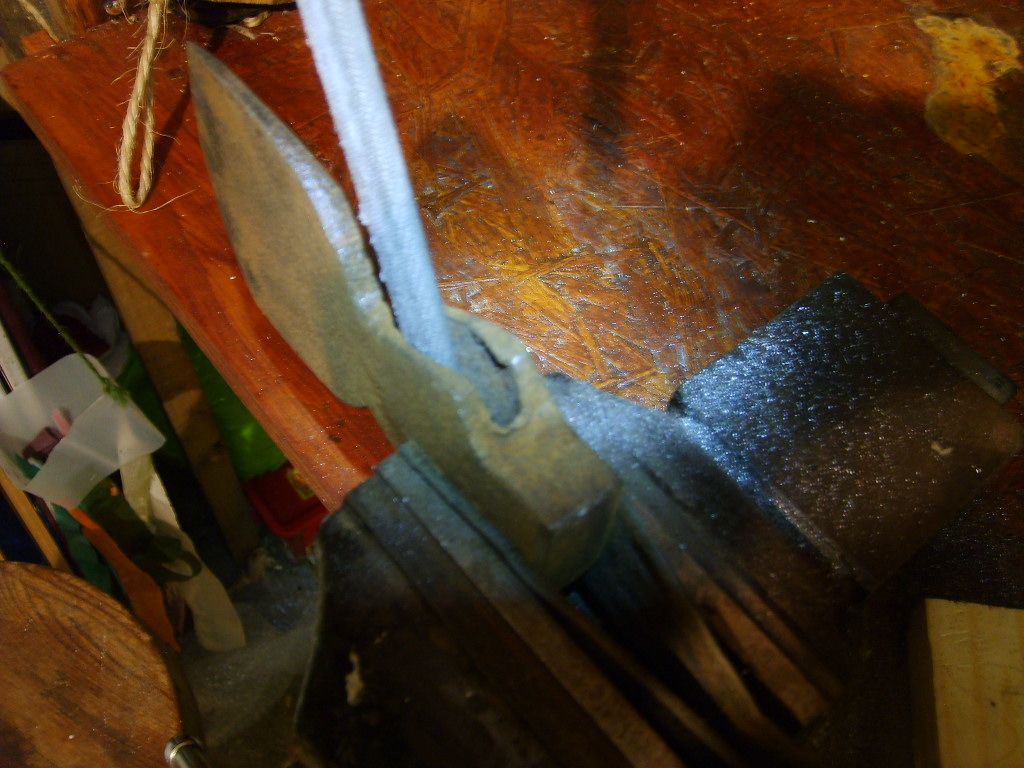
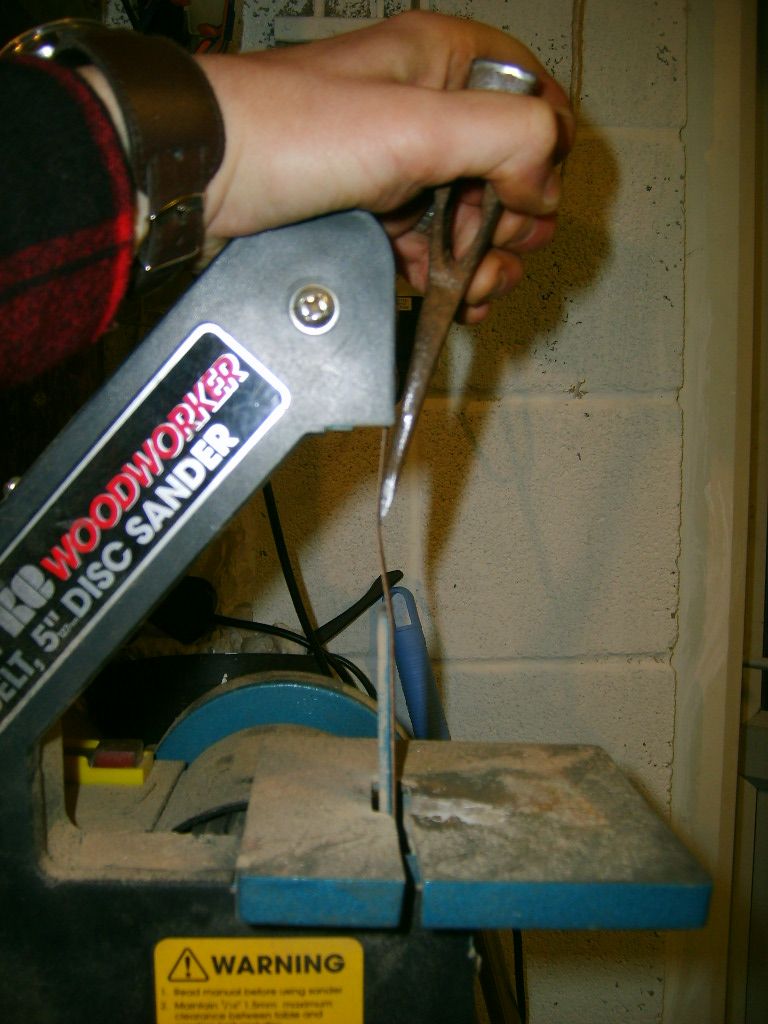
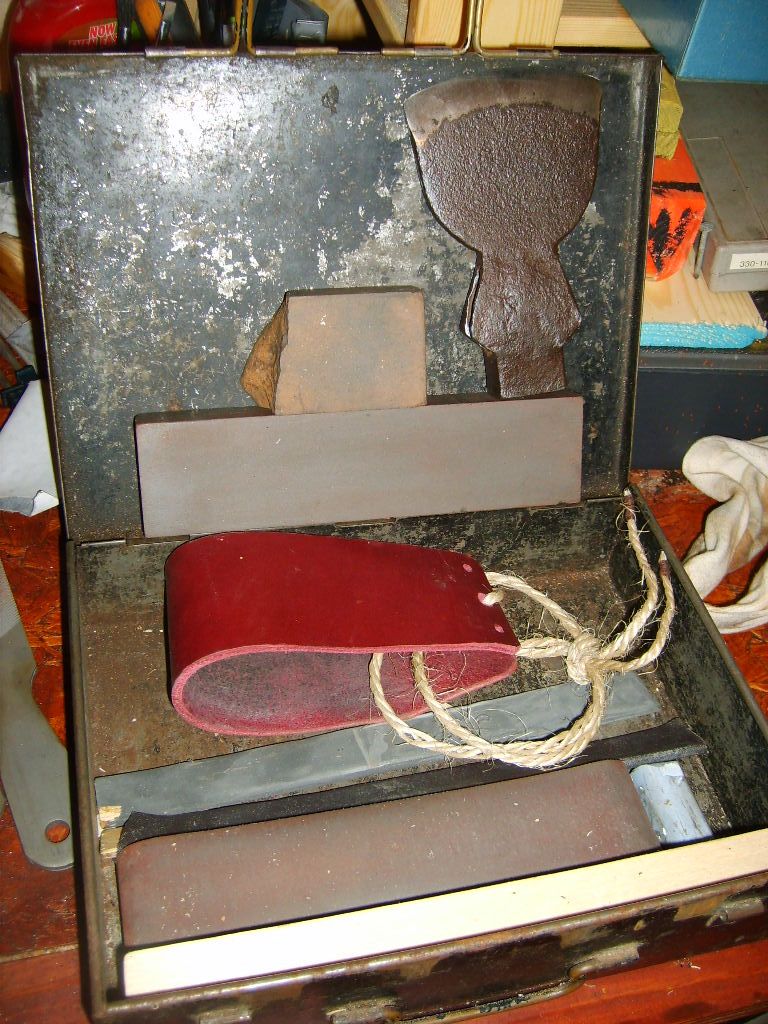
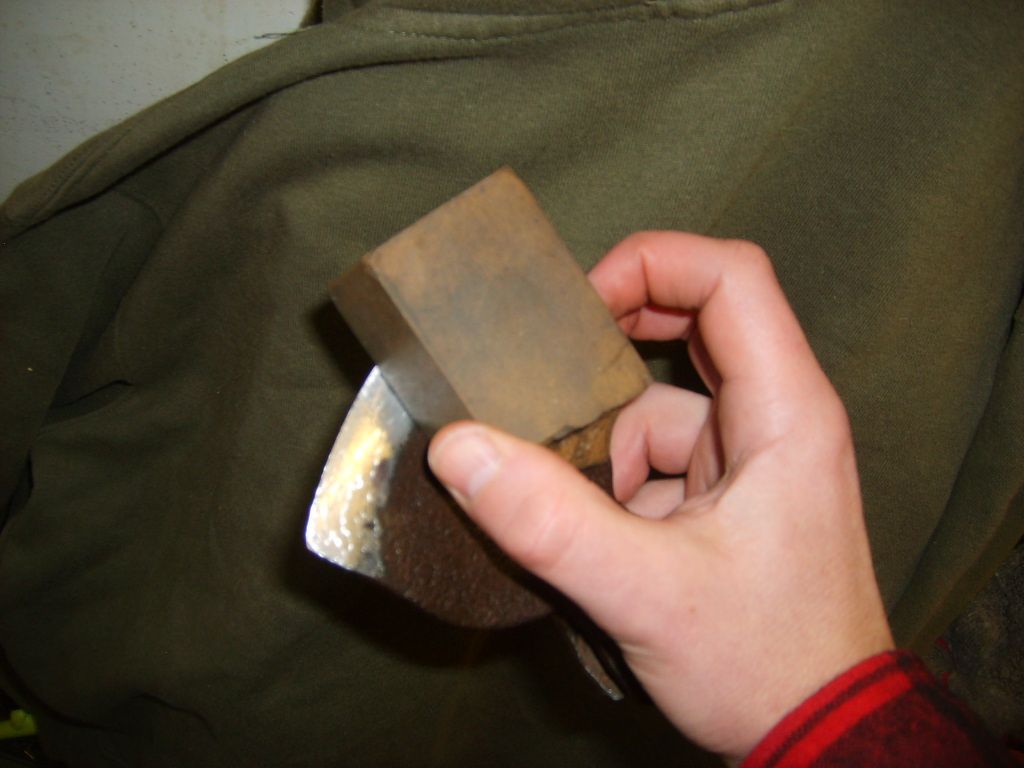
Most of the bevels will be reshaped and sharpened with old yet unused British and Swedish metal working course and fine files (cheers my scruffy amigo :) as its quicker and cheaper than using my small grinder, but the polishing will be done on the slack part of the belt, then strops. It will warm me up though!

S5001027_zps68cbd343.jpg


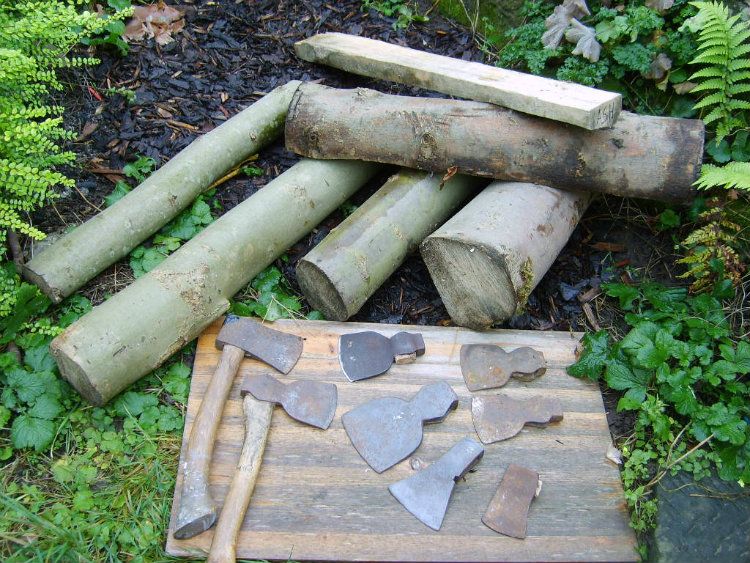
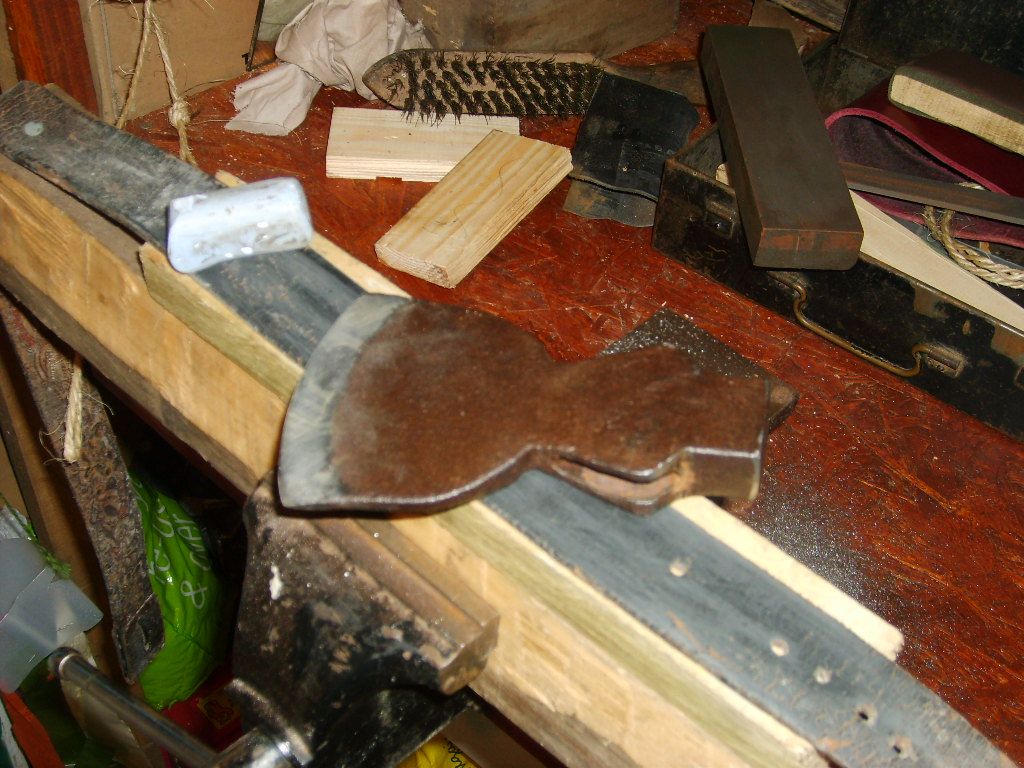
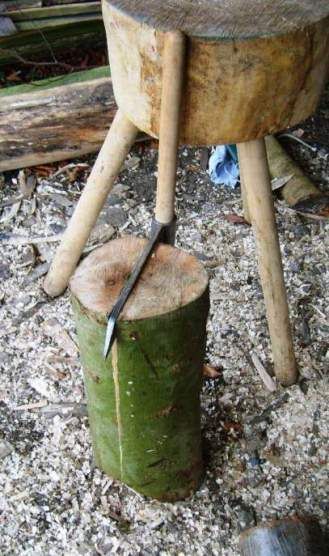
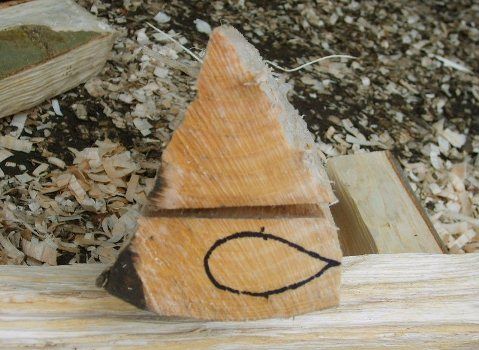
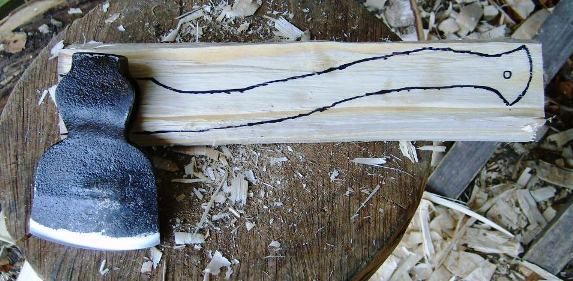
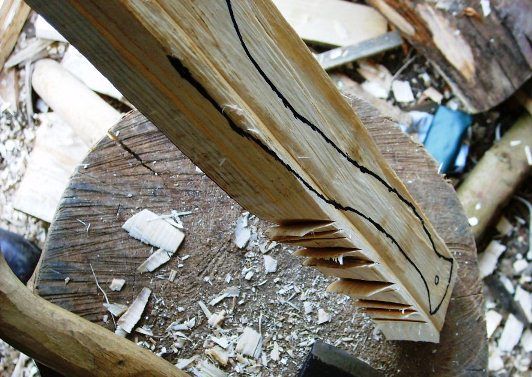
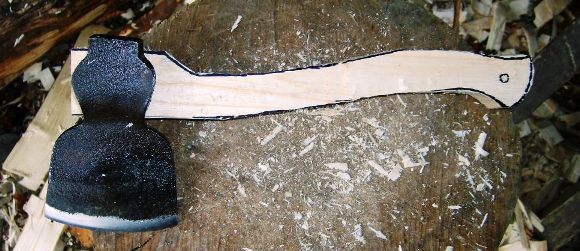
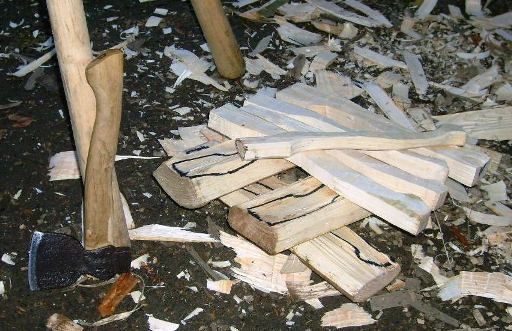
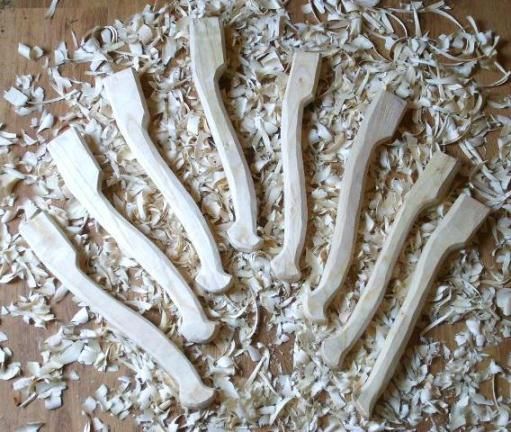
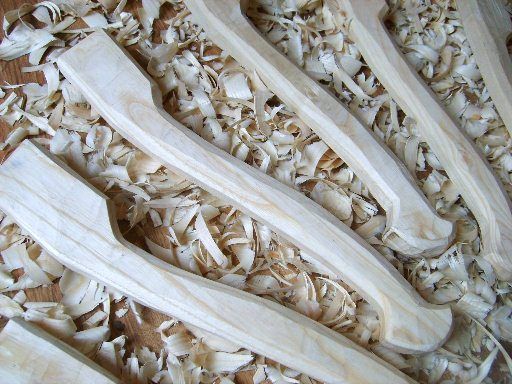
So far I've acquired the green Ash logs for the handles, two have a handle but one has had it and the other is held on with nails and is a daft shape for using, and I've quickly split out and cut to length the suitable pieces to carve into shape.

S5001030_zps6d198b5b.jpg


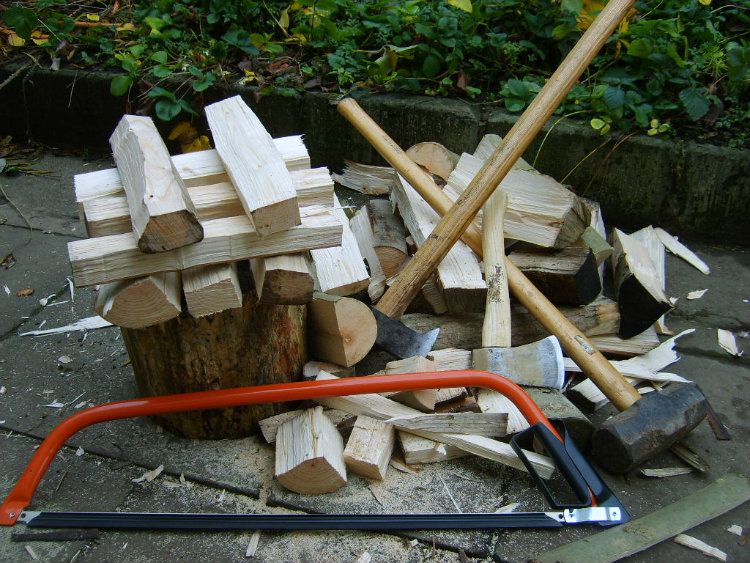
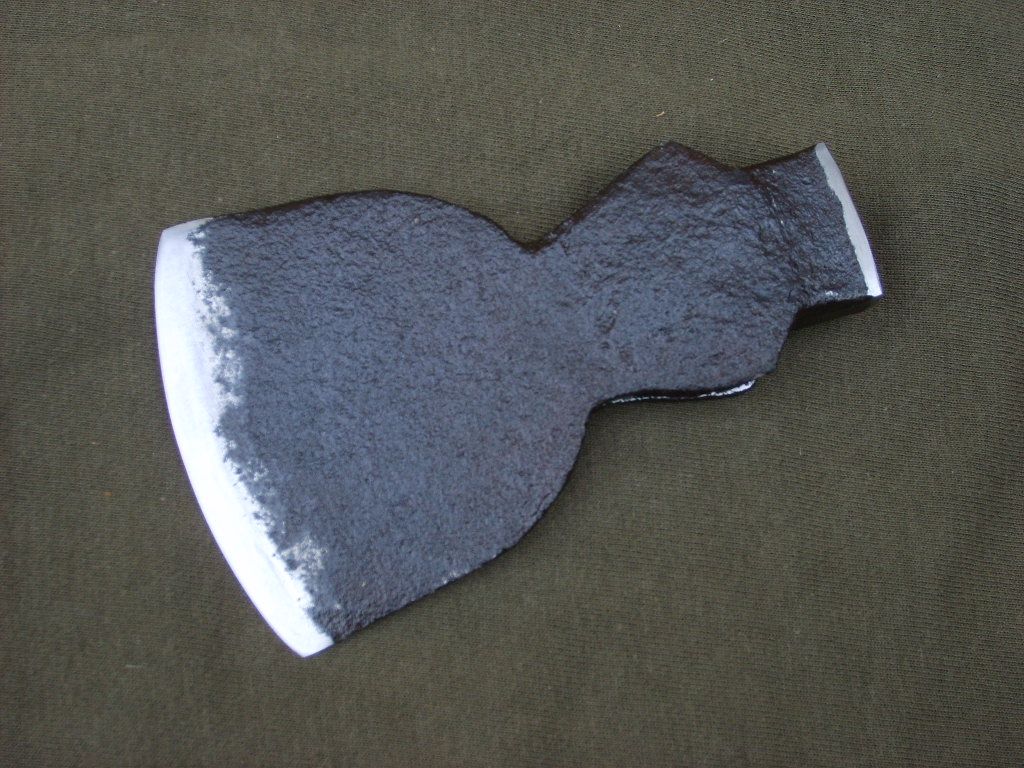
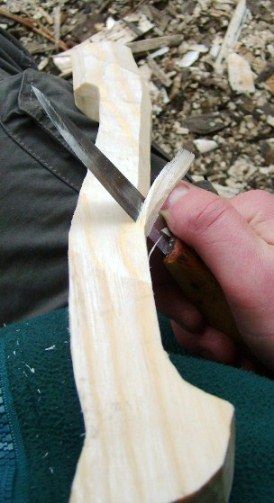
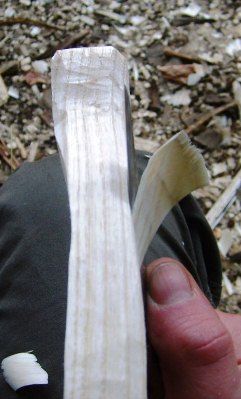
I just need to crack on and get these fellas done soon as I get a chance. Quite a bit of work but it saves a lot of money when you need a few, and these kents at these sorts of weights are hard to beat on performance. I'm interested on the other shapes too particularly the old narrow Ox Head as its very light but looks just right, and wont take much work at all.

Cheers all.
 

British Red

M.A.B (Mad About Bushcraft)
Dec 30, 2005
26,715
1,962
Mercia
I'd love to see how this progresses and the tools you use - I really need to learn to fabricate helves for myself....and I am forever dropping ash trees!
 

addo

Bushcrafter (boy, I've got a lot to say!)
Feb 8, 2006
2,485
9
Derbyshire
No problem Red, I'll try and show the process and tools as I get them done.
I fear rather a lot of Ash will be on the deck in the next couple of years.
 

demographic

Bushcrafter (boy, I've got a lot to say!)
Apr 15, 2005
4,694
712
-------------
Might as well tag onto this thread as well cos I have a couple of Kent hatchet heads I bought and can get files and rasps cheap as well.

That only leaves helves to make.
 

addo

Bushcrafter (boy, I've got a lot to say!)
Feb 8, 2006
2,485
9
Derbyshire
Ok folks I've cracked on a bit this weekend in-between other jobs, so I'll take you through the re-shaping, cleaning and sharpening of the Hatchet heads.
I'm sure this is old hat to most on here but hopefully its of use or interest to some.

I take a quick, cheap, and basic approach to this sort of work, but I like to do a decent job as they have to perform well on the day in someone else's hands. Sorry about the pictures though the lights either very on or off in the workshop.

S5001119_zps93fa095a.jpg


The Sandvick and Stubbs Farmers files with a course and medium face on each one. They cut beautifully and fast and once they are blunt I will forge them into knives as they are very good quality tool steel.

S5001124_zps79bcb986.jpg


First off, get the head in the vice edge upwards and file out all the nicks and damage from the cutting edge. This always feels wrong even on a heavily damaged example, but its very important to make a clean central area which the bevels can blend into.

S5001125_zpsbe13b26a.jpg


Next off its time to sort those bevels out, a block underneath helps a lot with support. You can get most of the rust etc. off with the wire bush too at this stage. As there for carving I do an almost flat long shallow bevel on the LHS and a more acute convex on the the RHS as I'm looking at it when in final use.

S5001128_zps802e6261.jpg


S5001136_zps0db2bd62.jpg


S5001137_zpsa44a3b11.jpg


Clean out any burrs and debris from the eye with half round and smaller types of files if necessary, and a small wire brush too.

S5001139_zps50e829c2.jpg


A quick run across a medium/fine grit slack belt on a grinder helps to finish the job, but mouse-mat blocks and emery paper work just as well.

S5001140_zps7d8158d8.jpg


Sharpening kit. Combination whetstone, broken half of a medium stone and various home made strops of various grits.

S5001143_zps37ca4c40.jpg


As the last stage was quite smooth I tend to go straight to the broken stone, taking the stone to the head using a circular motion and water.

S5001146_zps1ce697b1.jpg


Stropping across an old fence post with a very old belt containing stropping paste. This is important due to the previous formation of a wire edge. Use the stones again if you are struggling then return to this stage.

S5001154_zps1a33f435.jpg


All done, this is the longer flatter bevel

S5001152_zps3fa6757b.jpg


And the other side with shorter more convexed bevel. A drop of oil and a wipe to finish.

I did two more since last night so just Five more to go then I'll carve out the helves and do a follow up post in a few days.

Edit - Heads now all done

100_4386_zps107e6fc9.jpg

Addo :)
 
Last edited:

addo

Bushcrafter (boy, I've got a lot to say!)
Feb 8, 2006
2,485
9
Derbyshire
Wow, brilliant thread! this is really interesting, I just rehandled an axe and wish I took more care on the head! how did you get the black on the head, was it jenolite or similar?

Thanks Johnny. Its just the original forged finish cleaned up. I love the way they turn out with the shiny new edge as contrast.
 

Everything Mac

Bushcrafter (boy, I've got a lot to say!)
Nov 30, 2009
3,112
83
36
Scotland
Good work Addo. I do like the Kent pattern for carving. Looking forward to the finished products.
Andy
 

keithg

Member
Jun 27, 2007
49
1
Aldridge, West Midlands
Addo,

Appreciate you taking the time to post this. This is probably obvious to many, but as a relative newbie to this, can I add - when you get to the stage that you want to wire brush /clean up the head, to save knuckles / fingers do this whilst it's still blunt, not after you've put a finely honed edge to it. You can probably guess how I learned that :)

Also, when stropping - do you push the head against the strop leather or pull away from it?

Cheers, keithg
 

addo

Bushcrafter (boy, I've got a lot to say!)
Feb 8, 2006
2,485
9
Derbyshire
Addo,

Appreciate you taking the time to post this. This is probably obvious to many, but as a relative newbie to this, can I add - when you get to the stage that you want to wire brush /clean up the head, to save knuckles / fingers do this whilst it's still blunt, not after you've put a finely honed edge to it. You can probably guess how I learned that :)

Also, when stropping - do you push the head against the strop leather or pull away from it?

Cheers, keithg

Hi Keith, hope it didn't sting too much :( I normally clean them up when there blunt but sometimes get carried away and work the other way around. Sometimes you find a good one that needs wire bushing but its sharp when bought/found. When this is the case I don't wrap my fingers round the wire brush handle and lift the wrist up in case of a slip.
I tend to have sixth sense for accidents these days as the kids put an end to decent sleep years ago and I too have slipped in the past during a couple of jobs ;).

I pull the edge away from the strop, the opposite to the way that you sharpen a knife by cutting a layer off the stone.
 
Last edited:

addo

Bushcrafter (boy, I've got a lot to say!)
Feb 8, 2006
2,485
9
Derbyshire
Right, helve making time.
Thanks go to Robin Wood, and various greenwood working and bushcraft books for the information on how to make one and to generally carve.
Here’s my pictures and a basic walk through.

S5001160_zpse4897402.jpg

Take a section of Ash, and split in half. You can use an axe or a froe, but the froe tends to be a little more accurate on larger sections and splits easily with a pull on the handle.

S5001162_zps46111f84.jpg

You can then use just the one half or split down further to get more out of one piece, here one log makes six. Note the direction of the growth rings on this and the next picture for extra strength when in use.
S5001174_zpsc07f5ad5.jpg


S5001175_zps87723340.jpg

Mark out your design.
As I don’t have an old handle of the type I wanted to make, I used pictures in books to help create it, then stuck mainly with that first one, and replicated it.
I used a wide section of wood to accommodate the curves in the design. To make best use of it I placed where I wanted to carve the eye section towards the bottom of the wood section in the picture. Always pay attention to where the eye is going to be on the wood, so as to keep everything straight and leave enough wood on should some tweaking be necessary.

S5001176_zpse431d7bb.jpg

Make the whole piece rectangular in cross section to start with.
To remove wood, make a series of stop cuts with a hatchet suitable for carving, followed by a further cut(s) to remove them all, and make flat sections of wood.
For more curved sections cut deeper or more frequent stop cuts in the low part of the curve, remembering to also cut from the opposite direction.

S5001177_zps25807648.jpg


S5001178_zpsb96a24c3.jpg


S5001179_zps5513c57e.jpg

All the Axe carving done

S5001181_zps4f504532.jpg

Start carving with the knife. Smooth out the four flat faces of the rectangle cross section and check the uniform thickness and shape as you work. When you think your about there, start to take the corners off to form an octagonal cross section.

S5001183_zps663b622d.jpg

Add some shape around the end of the handle to prevent the hand slipping off and for comfort. You can do this near the head too for when closer work is done.

S5001184_zps54efe9f7.jpg

Knife work done

S5001186_zps637d1cf7.jpg

Getting there with the rest

Stavesedit_zps6e7054f7.jpg


staveseditclose_zps16b85f7c.jpg


Made it, phew!


Now I'll leave them for drying for a few days in the house but not in too hot an area, before fitting onto the heads I’ve been restoring. I’ve still a couple of those to finish off, but I'll rest up the hands for a night I think!
 

BCUK Shop

We have a a number of knives, T-Shirts and other items for sale.

SHOP HERE