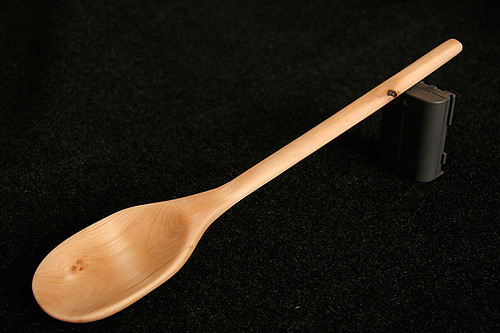
I went on the Woodsmoke "Woodlander" course at the end of September and was introduced to the dark arts of spoon carving! I'm a bit of a perfectionist so I was determined to finish my spoon properly. It was duly whittled down, sanded and oiled with walnut oil. However, I reckoned if it was worth doing once, it was worth doing again  ... so I made another spoon in sycamore!
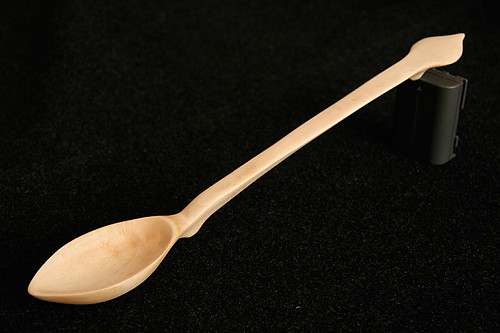
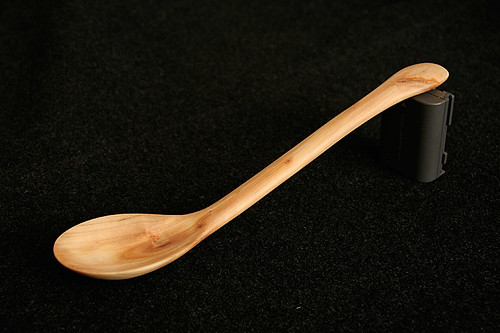
I found that the wood dictates what the spoon looks like and ended up with something rather fancy, but completely impractical ... so I went out to look for a piece of wood that I could carve a "using" spoon from ... back to birch for this one.
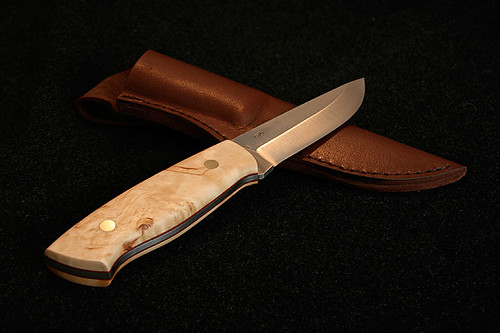
Finally, I wanted to get my head around what was involved in making knives so I bought an Enzo Trapper kit from Brisa I had no tools for making this other than a file and some wet and dry paper (took ages to file the bolts down and sand the scales to size!). The handle (curly birch) was finished with teak oil and then pure beeswax for final waterproofing. The sheath was wet formed and I might harden it with beeswax.
Enjoy!
1. Woodlander spoon in Birch
2. Second Spoon in Sycamore
3. A utility spoon at last - in Birch
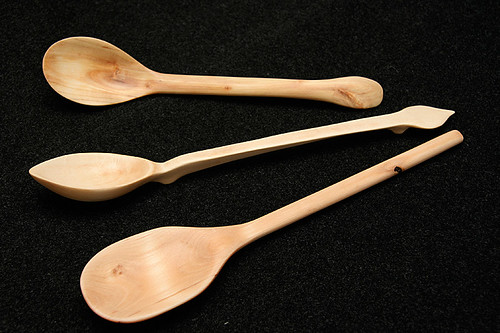
4. All spoons together!
5. Ooh, a pretty looking sharp thing
... so I made another spoon in sycamore!I found that the wood dictates what the spoon looks like and ended up with something rather fancy, but completely impractical ... so I went out to look for a piece of wood that I could carve a "using" spoon from ... back to birch for this one.
Finally, I wanted to get my head around what was involved in making knives so I bought an Enzo Trapper kit from Brisa
I had no tools for making this other than a file and some wet and dry paper (took ages to file the bolts down and sand the scales to size!). The handle (curly birch) was finished with teak oil and then pure beeswax for final waterproofing. The sheath was wet formed and I might harden it with beeswax.Enjoy!
1. Woodlander spoon in Birch
2. Second Spoon in Sycamore
3. A utility spoon at last - in Birch
4. All spoons together!
5. Ooh, a pretty looking sharp thing
 guys! I'm pretty chuffed all round - and I only cut myself once